Your First Colony: Buying and Installing a Nucleus
From buying a nucleus colony to installing it: learn step by step how to get your first bee colony and set it up safely.
Your First Colony: Buying and Installing a Nucleus
The day you get your first bee colony is one of the most exciting moments as a new beekeeper. Thousands of buzzing bees move in with you -- pure goosebumps! To make sure this big day goes smoothly, we will prepare you thoroughly in this lesson: from the right timing to the source, all the way to installing step by step.

Where Do You Get Bees?
1. Beekeeping Association and Mentor (recommended)
The best source for your first colony is your local beekeeping association or your bee mentor. Many associations arrange nucleus colonies from experienced members, and some mentors even gift their mentee the first colony.
Advantages:
- You know the origin and health of the bees
- Locally adapted bee stock (local genetics, more resilient)
- Your mentor can help you with installation
- Affordable or even free
- Bees are matched to your association's frame size
2. Breeders and Beekeeping Suppliers
If your association does not arrange nucleus colonies, you can buy from a reputable bee breeder. Ask the veterinary office or your regional beekeeping federation for recommendations.
3. Online Marketplaces
Nucleus colonies are offered on platforms like classified ad sites or specialised beekeeping exchanges. Caution is advised here:
ALWAYS demand a current health certificate (no older than 9 months) from the seller's veterinary office. Without this certificate, you risk introducing diseases like American Foulbrood into your apiary. This can endanger your entire beekeeping operation and that of all beekeepers in the surrounding area.
4. Catching a Swarm
In May and June, you may occasionally find bee swarms on trees or fences. Catching a swarm is a fascinating experience -- but not recommended for beginners:
- You do not know the health status
- The genetics are unknown (aggressive bees possible)
- Catching requires experience
- No health certificate available

What Is a Nucleus Colony?
A nucleus colony (or "nuc") is a small, young colony that has been split off from a strong mother colony. It typically consists of:
- 3--5 frames with bees (brood and food frames)
- A young, mated queen (often from the current year)
- Approx. 5,000--10,000 bees (a fraction of a strong colony's 50,000+)
- Enough capped brood that will soon emerge and strengthen the colony
- Some food (honey and pollen) for the first days
Nucleus vs. Package Bees vs. Established Colony
Start with two nucleus colonies instead of just one! If one colony runs into problems (queenless, weak), you can help with the second -- for example by transferring a brood frame. Having two colonies to compare is invaluable.
The Right Timing
The best time to buy a nucleus is May to early June:
- Nature offers abundant forage (fruit blossom, rapeseed, dandelion)
- The colony has the entire season to build up
- Enough time for comb construction and building winter stores
- The queen can prove herself before winter comes
- You can carry out the first Varroa treatment in autumn
Too late: From July onwards it gets difficult. The colony no longer has enough time to build up for winter. You would need to feed heavily and will have gained little experience before winter arrives.
Getting the Transport Right
Transporting your nucleus requires some preparation. Bees are sensitive to vibrations and heat.
-
Timing: Collect the nucleus in the late evening when all bees are inside. Alternatively, early morning.
-
Close the entrance: The seller closes the entrance with a foam strip (breathable!). NEVER use an airtight seal.
-
Secure the boxes: Fix the floor and box together with a ratchet strap or sturdy tape. Nothing must shift.
-
Transport in the car: Place the nucleus on a flat surface in the boot. The frames must run parallel to the direction of travel (otherwise they slam against each other when braking).
-
Watch the temperature: Above 25 degrees C outside, caution is needed. Bees can overheat! Drive promptly, ventilate well, and take shade breaks on long journeys.
-
Stay calm: Drive smoothly, avoid sharp braking. The bees will buzz loudly -- this is normal and no cause for panic.
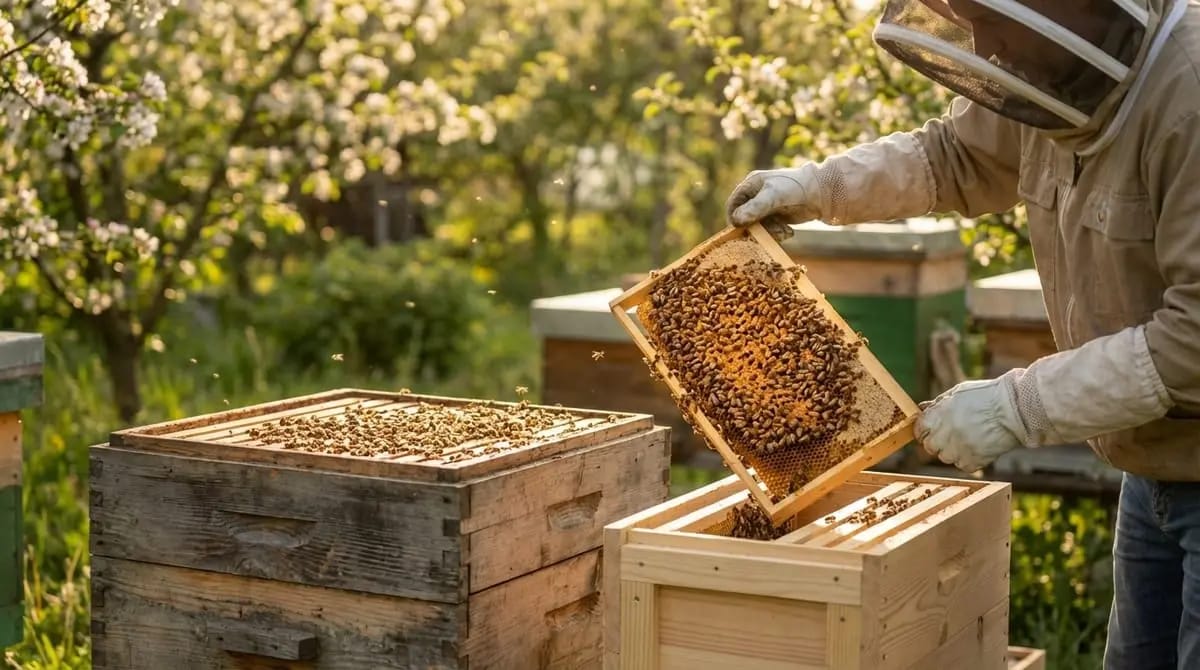
Installing the Nucleus -- Step by Step
Now comes the big moment: your first nucleus moves into its new hive. Take your time and work calmly and with focus.

Prepare the Hive

Set up your new hive at the planned location. The floor board sits on a stand or support (30--40 cm high). Have frames with foundation ready to fill the brood box. The entrance faces south-east.
Place the Nucleus Beside It
Place the closed nucleus box right next to the new hive. Open the nucleus entrance. Let the bees settle for 15--30 minutes and orientate. You will see the first bees exploring the new surroundings.
Put on Protective Gear
Put on your full bee suit: veil, gloves, closed shoes. Light the smoker and give 2--3 gentle puffs at the nucleus entrance. The smoke calms the bees and signals them to fill up on honey.
Open the Lid and Smoke

Carefully open the nucleus box lid. Give a light puff of smoke over the frame top bars. Wait a moment until the bees move downward.
Transfer Frames One by One
Lift the frames out one by one and carefully. Always hold each frame vertically (never tilt -- fresh combs can break!). Hang them in the same order in the new hive. Make sure brood frames are in the centre and food frames at the edges.
Shake Remaining Bees In
If bees remain in the nucleus box, gently tap them in front of the new hive's entrance. The bees will walk in on their own. Alternatively, place the open nucleus box in front of the hive -- the bees will find their way.
Fill Up and Close

Fill the remaining space with frames of foundation. A typical nucleus comes on 5 frames -- fill to 10 frames (complete box). Place the queen excluder and inner cover on top, then the outer cover. Open the entrance only a small gap (3--4 cm) -- this protects against robbing by other bees.
Do Not Forget to Feed!
Give the colony a feeder with sugar syrup (3:2, sugar:water) or ready-made bee feed. The nucleus needs energy for comb building and brood care. Feed regularly until the new foundation sheets are drawn out.
Once the bees have orientated (after a few hours), you must NOT move the hive. Bees imprint on the exact position. Even a 30 cm shift means returning foragers cannot find their hive. If you want to change the location, the colony must be moved at least 3 km away and brought back after 3 weeks.
The First Days and Weeks
Days 1--3: Stay Calm
After installing: hands off! Leave the colony alone for at least 3 days. The bees need to orientate, explore the new surroundings, and begin comb building. You may observe at the entrance -- that is allowed and educational.
Days 5--7: First Brief Check
After about a week, you may carefully open for the first time. Check:
First Check After Installation
Weeks 2--8: Regular Checks
From now on, check every 7--10 days:
- Colony development: Is the brood nest getting larger?
- Comb building: Is the foundation being drawn out promptly?
- Food: Enough present or feeding needed?
- Queen-rightness: Are there consistently eggs and young brood?
Write down what you saw after every inspection. With Hivekraft you can capture your observations digitally and keep track of everything. But a simple notebook works fine at the start too.
Common Beginner Mistakes
Two colonies are the minimum for beginners. Only with a comparison colony can you learn what is normal and what is not. And if one colony loses its queen, the other can help with a brood frame.
What Comes Next?
After installing, your actual journey as a beekeeper begins. In the coming weeks and months, these milestones await:
| Period | What Happens |
|---|---|
| Weeks 1--4 | Colony builds comb, queen lays, bee numbers grow |
| Weeks 4--8 | Colony fills the first box, possibly add second box |
| Summer | Colony reaches full strength, you learn swarm control |
| August--September | First Varroa treatment (absolutely essential!) |
| September--October | Winter feeding (15--20 kg sugar per colony) |
| November--February | Winter rest -- leave bees alone |
| Next spring | Colonies take off -- first honey harvest possible! |
Knowledge Check
Congratulations! With your first colony you have taken the most important step. In the next lessons, you will learn about regular colony management, swarm control, and the life-saving Varroa treatment.