Summer Work: Honey Supers, Nectar Flow, Harvest
From adding honey supers to observing the nectar flow to your first harvest -- the complete guide for your honey season.
Summer Work: Honey Supers, Nectar Flow, Harvest
The honey harvest is the highlight of the beekeeping year -- the moment when months of work turn into liquid gold. But before you get there, you need to follow some important steps: adding the honey super at the right time, keeping an eye on the nectar flow, and recognising the right moment to harvest.
Adding the Honey Super: When and How?
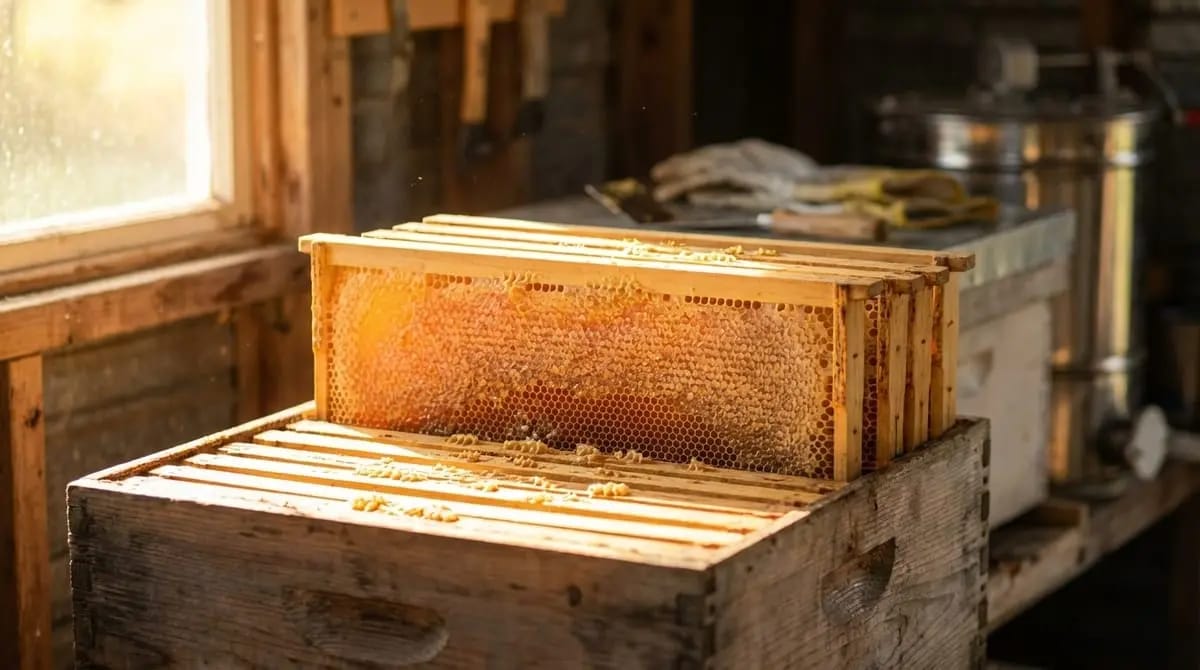
The honey super is the box in which the bees store the honey you will later harvest. The brood box below remains for the bees' brood rearing.
The Right Timing
Add the honey super when the following conditions are met:
- The colony occupies at least 7--8 frame gaps in the brood box
- The bees are actively bringing in nectar (visible from flight activity and the fresh sheen on combs)
- Daytime temperatures regularly above 15 degrees C
- The first major nectar flow (usually fruit blossom or rapeseed) is imminent or has begun
A honey super added too late leads to lack of space -- and lack of space is the main trigger for swarming. Add the honey super a week too early rather than a day too late. The bees will accept it as soon as nectar flows.
How to add the honey super:
- Place a queen excluder on the brood box (prevents the queen from moving up into the honey super and laying eggs)
- Place the honey super box with drawn combs or foundation on top
- Replace the cover -- done!

Bees accept a honey super with already drawn combs much faster than one with foundation. Light drawn combs from the previous year are ideal. If you have none, foundation works too -- the bees just need to produce wax and build the combs first, which costs honey and energy.
Nectar-Producing Plants Through the Year
Honey is always a mirror of the landscape. Depending on which plants bloom around your apiary, the honey differs in colour, taste, and consistency.
The Most Important Nectar Sources
| Nectar Plant | Bloom Period | Honey Properties | Special Note |
|---|---|---|---|
| Rapeseed | April--May | Light, creamy, mild | Crystallises very quickly! |
| Fruit blossom | April--May | Light, fruity-mild | Often blended with other early flows |
| Black locust (Acacia) | May--June | Water-clear, liquid, mild | Stays liquid for a long time |
| Lime | June--July | Yellowish, menthol, fresh | Typical for urban honey |
| Forest honey | June--Aug. | Dark, malty, robust | Not nectar but honeydew |
| Heather | Aug.--Sept. | Amber, aromatic | Gel-like, difficult to extract |
Honey quality begins not at extraction but at the location. Those who know the forage conditions in their area can harvest targeted varietal honeys.
When Is the Honey Ripe?
The most important question before every harvest: does the honey have the right moisture content? Honey that is too moist will ferment and is not shelf-stable. The German Honey Regulation permits a maximum of 20 % moisture, while the German Beekeepers' Association (DIB) requires below 18 %.
Moisture limits may differ in other countries. In the EU, the Honey Directive permits up to 20 %. For premium quality, aim for below 18 % regardless of where you are.
Three Methods for Testing Ripeness
1. Check Capping Level (simplest method)
- If at least two-thirds of the honey cells are capped, the honey is generally ripe
- Fully capped frames are always ready to harvest
2. Shake Test (quick test at the apiary)
- Hold the frame horizontally and give a short, sharp downward jolt
- No honey sprays out? Then it is ripe enough
- If drops fall: hang the frame back and wait
3. Refractometer (the reliable measurement)
- A refractometer measures the exact moisture content
- Place a sample on the prism, look through, read the value
- Below 18 %: perfect. 18--20 %: borderline. Over 20 %: do not harvest!
Rapeseed honey crystallises extremely quickly -- sometimes right in the comb. Harvest rapeseed honey no later than 2--3 days after the rapeseed finishes blooming. Otherwise it solidifies in the comb and can barely be extracted. When in doubt: harvest rather too early and check moisture with the refractometer.
The Harvest Process: Step by Step
1. Insert Bee Escape Board

The evening before harvest, place a bee escape board between brood box and honey super. The bee escape is a one-way valve: bees can move down to the brood box but not back up into the honey super. By the next morning, the honey super is nearly bee-free.
Alternative: Brush bees off individual frames -- this works too, but is more laborious and disturbs the bees more.
2. Remove Honey Frames
Take the bee-free honey frames from the super. Check each frame: is it at least two-thirds capped? Shake test passed? Only harvest ripe frames! Hang unripe frames back in the colony. Transport the frames in a sealed container to the extraction room -- open frames attract robber bees.
3. Uncap the Frames

In a clean extraction room (windows closed!), remove the wax cappings from both sides of each frame. Use an uncapping fork or uncapping knife. The cappings wax is valuable -- collect it and melt it down later!
4. Extract
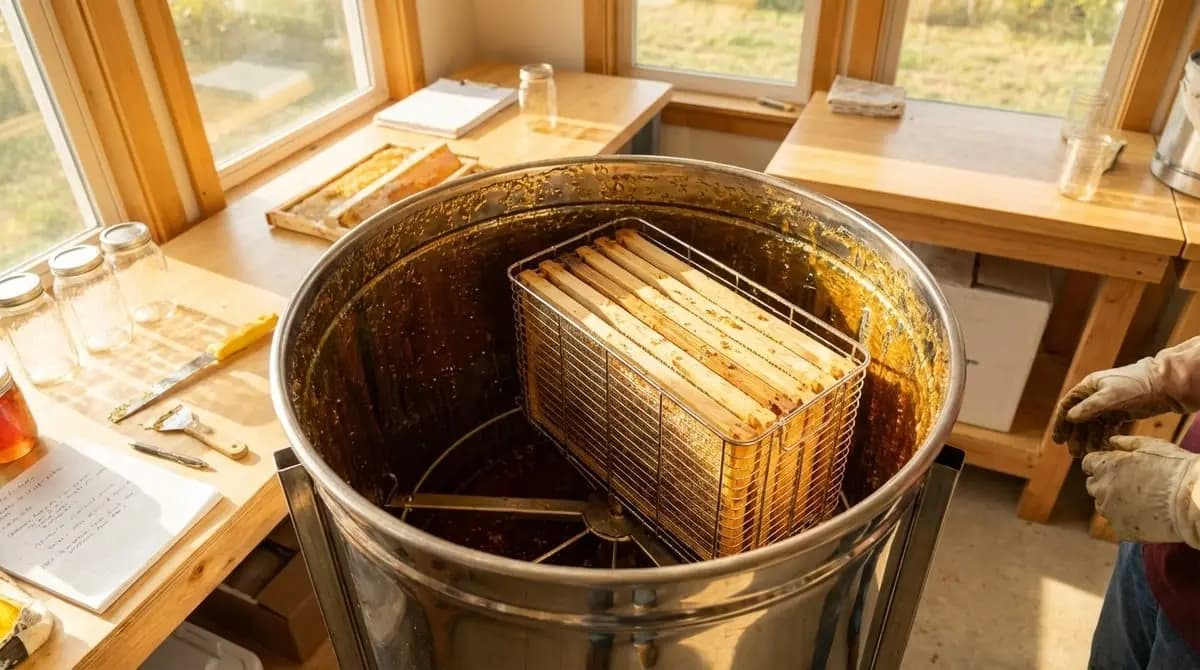
Place the uncapped frames in the honey extractor. Ensure even distribution (avoid imbalance). Start slowly: extract one side first, then flip the frames, extract the other side, then the first side again at full speed. Spinning too fast breaks the combs!
5. Strain
The honey flows from the extractor through a double sieve (coarse + fine) into a food-grade honey bucket. The sieve catches wax particles, pollen fragments, and other debris. Do not press -- let the honey flow through at its own pace.
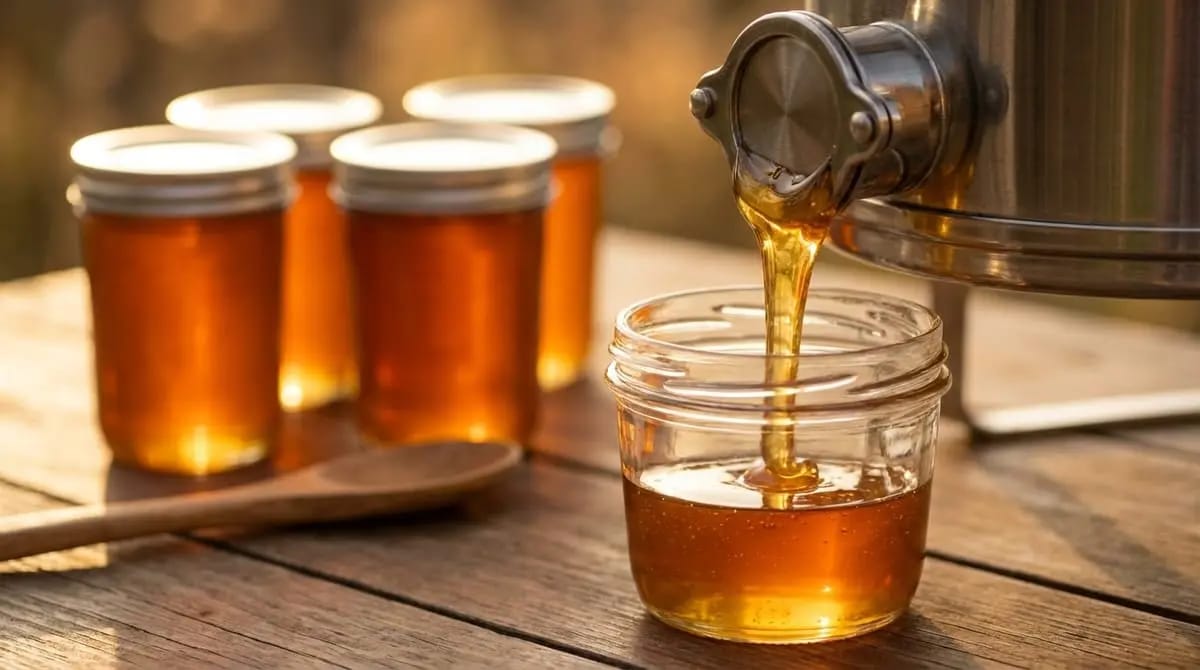
6. Rest, Stir, Bottle

Let the honey rest in the bucket for 2--3 days. Skim off rising air bubbles and foam. For creamy honey: stir daily for 5--10 minutes once crystallisation begins (after 5--10 days). For liquid honey: bottle promptly before crystallisation sets in. Fill into clean, dry jars and store cool (12--15 degrees C) and dark.
Honey Hygiene: Observe Food Law
Honey is a food product -- and therefore subject to legal requirements. Even as a hobby beekeeper, you must comply with food regulations.

Food labelling requirements vary by country. The following are based on German/EU regulations. Check the rules specific to your country if you plan to sell honey.
The most important rules:
- All equipment that comes into contact with honey must be food-grade and clean
- The extraction room must be clean, dry, and free from dust and insects
- Honey must never be heated above 40 degrees C (HMF value rises, enzymes are destroyed)
- Moisture content below 20 % (EU Honey Directive), below 18 % for premium quality
- Storage: cool (12--15 degrees C), dark, dry, well sealed
- Labelling: Even for direct sales, mandatory information is required (description, net weight, best-before date, name and address)
In Germany, members of the German Beekeepers' Association (DIB) can market honey in the well-known green DIB jar. This is subject to stricter quality requirements (max. 18 % moisture, no heating above 40 degrees C) but enjoys great consumer trust. Alternatively, you can use neutral jars and design your own label.
After the Harvest: What Comes Next?
The harvest is done, but your beekeeping year is far from over. What comes next is decisive for the health of your colonies.
Post-Harvest To-Do List
Immediately after the last honey harvest is the most critical time for Varroa treatment. The winter bees that emerge from August/September onward must grow up mite-free for the colony to survive the winter. Waiting too long is too late. More on this in the Varroa lesson.
Yield Expectations: What Can I Expect?
Harvest quantities vary greatly -- depending on location, forage, weather, and experience:
| Category | Yield per Colony |
|---|---|
| Weak year / Beginner | 10--15 kg |
| Average (Germany) | 20--30 kg |
| Good nectar year | 30--50 kg |
| Top location (e.g. rapeseed + lime) | 50--80 kg |
Documenting the Harvest
For every harvest, you should record:
- Date of harvest
- Colony/colonies the honey came from
- Quantity (in kg)
- Moisture content (refractometer value)
- Nectar source (rapeseed, lime, blossom, forest...)
- Batch number for traceability
In Hivekraft, you can assign each harvest to a colony, create batches, and even generate QR codes for your honey jars. This lets your customer trace the honey back to the bee colony -- a genuine quality feature.
Knowledge Check
In the next lesson, we cover the most important health measure: dealing with the Varroa mite.