Your First Year: Review and Planning
A complete review of your first beekeeping year: what you learned, typical mistakes, and how to plan your second year.
Your First Year: Review and Planning
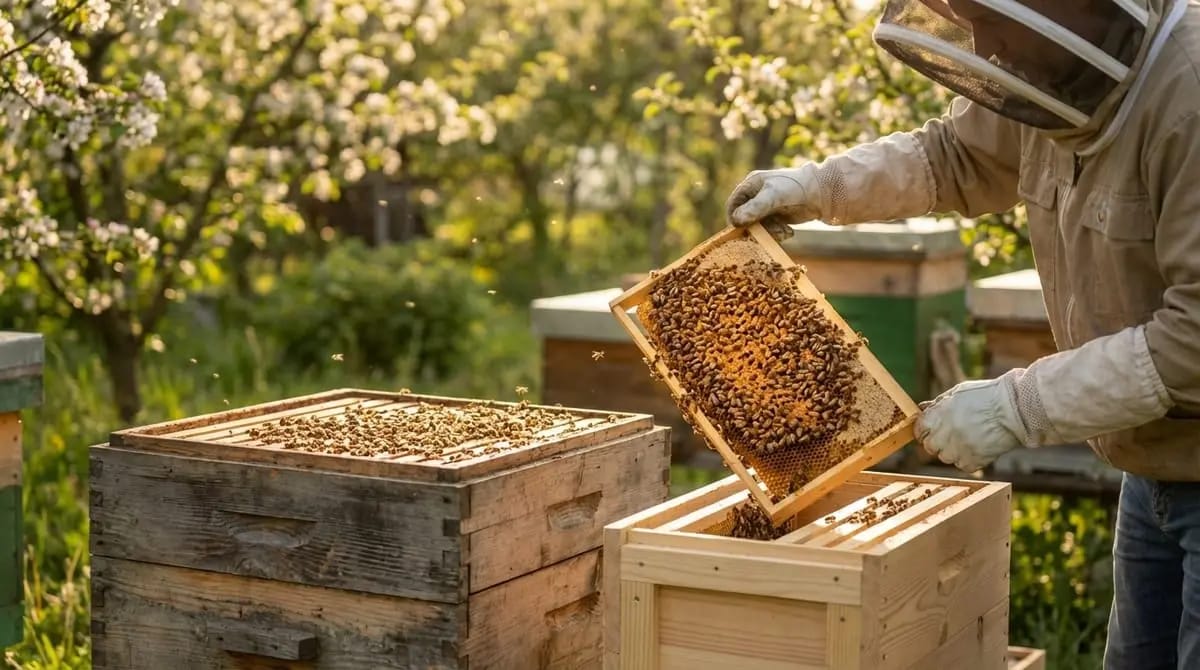
Congratulations -- you have made it through your first beekeeping year! Whether everything went smoothly or you experienced setbacks along the way: you are now a beekeeper. In this final lesson, we look back on the twelve months behind you, learn from the most common beginner mistakes, and plan your second year.

The Beekeeping Year at a Glance
Each month brings different tasks and challenges. Here is the complete annual cycle as you experienced it:
The Most Common Mistakes in the First Year
No beginner gets everything right -- and that is perfectly fine. What matters is that you learn from the experience. Here are the mistakes nearly every new beekeeper makes:
1. Checking Too Rarely or Too Often
Some beginners do not look at their bees for weeks; others open the hive every other day. Both are bad. During swarm season (May--June) check weekly, otherwise every 10--14 days. In winter: do not open at all.
2. Varroa Treatment Delayed
"I will do it next week" -- and suddenly it is September. The Varroa mite does not wait. Treat immediately after the last harvest, ideally by late July or early August.
3. Feeding Too Little
"There was still some food in the hive" -- yes, but not enough for 5 months of winter. Always weigh or do the heft test. 15--20 kg is the target, not "looks okay."
4. Missing Swarm Cells
A single swarm cell at the comb edge is enough. Anyone who does not pull each frame individually and also check the undersides risks a swarm -- and loses half their colony.
5. Too Much Smoke
Smoke is a tool, not a fire extinguisher. A few gentle puffs suffice. Too much smoke stresses the bees unnecessarily and taints the honey.
Mistakes are part of the learning process. After each season, write down what went wrong and what you want to do differently next time. Your hive record (analogue or digital with Hivekraft) is your best helper -- because memory alone is unreliable.
Success Criteria: When Was Your Year Good?
Not every year brings a record harvest. Especially in the first year, other things matter more than mountains of honey. Your first year was successful if:
-
Your colony is alive and healthy. That sounds simple, but the overwinter survival rate for beginners is often only 70--80 %. If your colony comes through winter strong, you did everything right.
-
You harvested some honey. In the first year, 10--15 kg per colony is a realistic target. Some colonies yield more, some less. Do not be disappointed if the first year produces only a few jars.
-
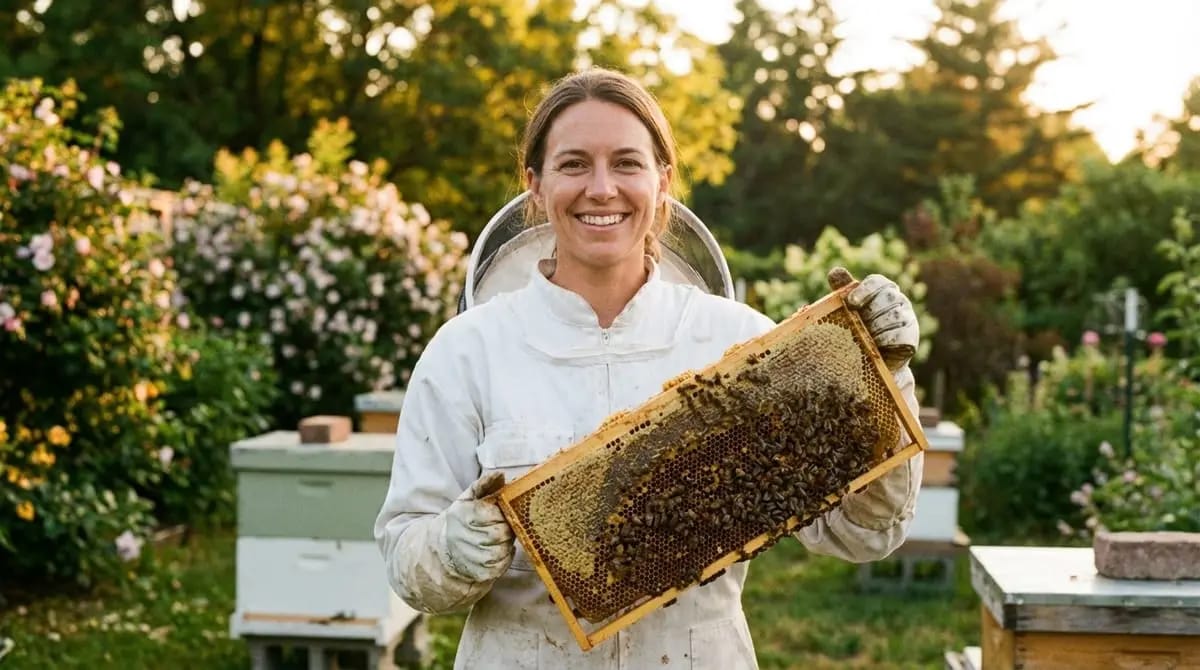
You enjoyed it. Beekeeping is a hobby (or profession) that demands patience and dedication. If after a year you still enjoy visiting your bees, that is the greatest success.
The first year is a learning year. Anyone who says after their first season "I want to keep doing this!" has won -- regardless of how much honey ended up in jars. Bees forgive beginners a remarkable amount, as long as you are willing to learn from mistakes.
Planning Your Second Year
With the experience from your first year, you are ready for the next step. Here are the key goals for your second beekeeping year:
Growing from 1 to 2--3 Colonies
A single colony is risky: if it dies, you have no bees at all. With 2--3 colonies you have a reserve and can transfer combs, brood, or a queen from one colony to another when problems arise.
How do you get more colonies?
- Making splits: In May/June, take 2--3 brood frames with adhering bees and a queen cell from your colony and place them in their own hive. This split grows over summer into a colony of its own.
- Catching a swarm: If a swarm issues (yours or a stray), you can install it.
- Purchasing: Buy a package or nucleus from your beekeeping association or a breeder.
Making splits is a topic in its own right that we cover in detail in an advanced course. For now, it is enough to know: May/June is the right time, and your mentor or association will help you.
Improving Your Varroa Strategy
In the first year you learned the basics: formic acid in summer, oxalic acid in winter. For the second year you can refine your approach:
- Drone brood removal in May/June as a biotechnical measure (reduces mite pressure without chemicals)
- Carry out infestation monitoring systematically and document it
- Optimise treatment timing -- you now know the temperatures and rhythm of your region better
Marketing Honey Intentionally
If you get a decent harvest in the second year, you can start selling honey to friends, family, or at a local market. Be sure to follow honey and food labelling regulations that apply in your country.
The Beekeeping Association: Your Most Important Network
If you are not yet a member of a beekeeping association, now is the perfect time. The benefits are enormous:

- Insurance: As an association member, you are covered by beekeeper liability insurance (important for swarms or stinging incidents)
- Knowledge: Experienced beekeepers share expertise in courses, talks, and at regular meetings
- Community: Group extraction days, trips to nectar sources, festivities
- Equipment: Many associations lend extractors, wax melters, and other expensive equipment
- Bee inspectors: If you suspect disease, you immediately have a contact
Continuing Education: Never Stop Learning
Beekeeping is a craft where you never stop learning. Here are recommendations for your further education:
Books
- "The Beekeeper's Handbook" by Diana Sammataro and Alphonse Avitabile -- a comprehensive reference
- "Beekeeping for Dummies" by Howland Blackiston -- accessible and practical
- "The Lives of Bees" by Thomas D. Seeley -- fascinating biology for anyone who wants to truly understand bees
Online Resources
- Die Honigmacher (honigmacher.de) -- free online learning portal (German)
- BeeSource.com -- extensive English-language beekeeping forum
- YouTube: Channels like "University of Guelph Honey Bee Research Centre" or "Kamon Reynolds" offer practical tutorials
Digital Tools
Good documentation is the foundation of successful beekeeping. What you record in your hive record -- inspections, treatments, feedings, harvests -- helps you recognise patterns and make better decisions.
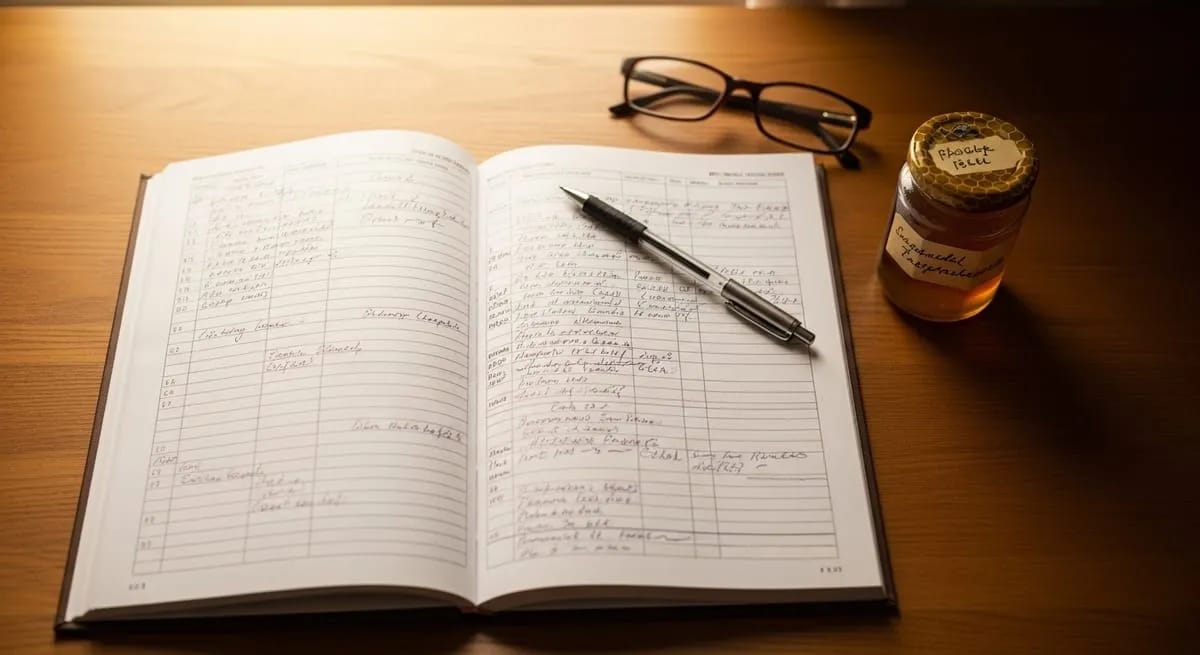
With Hivekraft you can capture all data digitally, analyse it, and even automatically fulfil legal obligations like the colony record book. Try it and experience how much easier beekeeping becomes when you have all your information at your fingertips.
What You Should Be Able to Do After the First Year
Skills After the First Beekeeping Year
If you can tick off most of these points, you are ready for the second year. And for everything you are not yet confident about, there are experienced beekeepers, books, and of course further courses here at Hivekraft.
An Outlook
The first year is behind you, but the journey continues. In the coming years you will:
- Refine your management and adapt it to your needs
- Make splits and raise your own offspring
- Perhaps even mark and select queens
- Harvest and market different honey varieties
- Be part of a wonderful community committed to bees and nature
The bees will surprise, challenge, and inspire you anew every year. Welcome to beekeeping!
Knowledge Check
Congratulations! You have completed the course "Beekeeping for Beginners." We look forward to accompanying you on your continuing journey as a beekeeper.