Queen Rearing for Advanced Beekeepers
From breeding stock selection to grafting and mating stations: professional queen rearing step by step with all systems and methods.
Queen Rearing for Advanced Beekeepers

The ability to rear your own queens elevates your beekeeping to a new level. You become independent from purchased queens, can systematically improve the genetics of your colonies and gain flexibility in making splits. Professional queen rearing requires planning, practice and biological understanding -- but rewards you with gentle, high-performing bee colonies.
Fundamentals: How Is a Queen Created?
Every fertilised egg can develop into either a queen or a worker. The difference lies entirely in nutrition: queen larvae receive royal jelly in large quantities throughout their entire development, while worker larvae only receive it for the first 3 days.
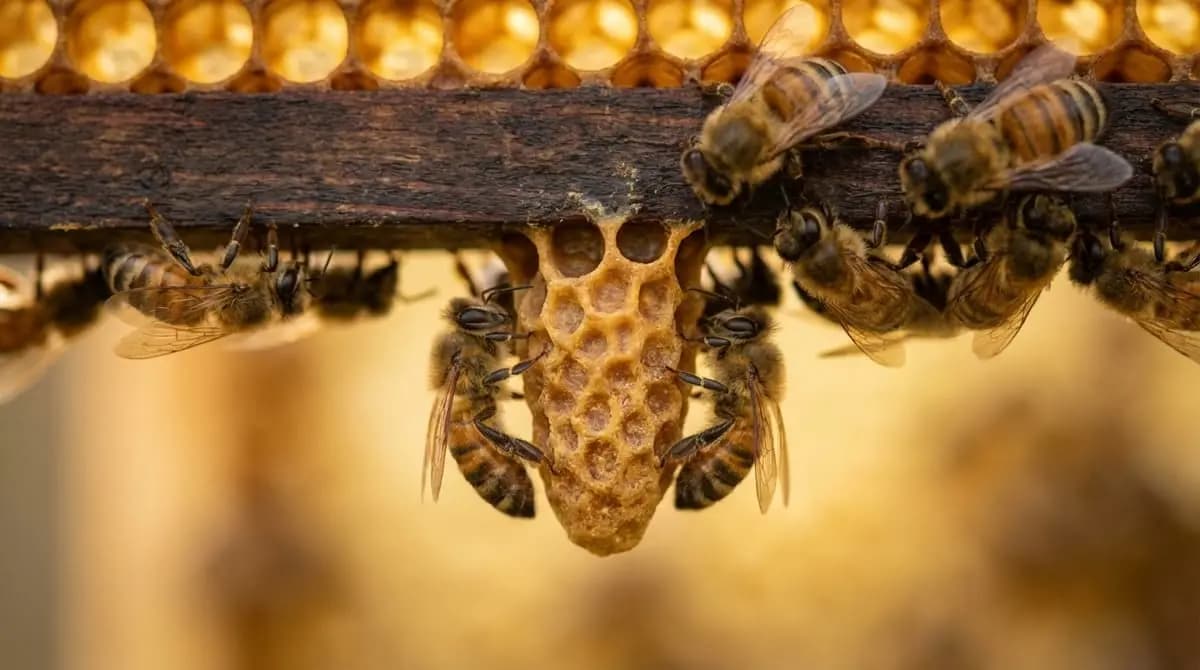
For breeding, we take the youngest worker larvae (12-24 hours old) and place them into artificial queen cups, where nurse bees raise them as queens.
Only larvae under 24 hours old are suitable. Older larvae have already been partly programmed as workers and produce inferior queens with reduced spermatheca filling and shorter lifespan.
Development Calendar
Why Rear Your Own Queens?
Home-reared queens offer decisive advantages over purchased ones:
- Genetic adaptation: your queens come from colonies that succeed under your local conditions (climate, forage, mite pressure)
- Cost savings: a purchased, mated queen costs 25-50 EUR, a home-reared one practically nothing
- Independence: you are not dependent on delivery schedules and availability
- Breeding progress: only through your own rearing can you systematically improve traits like gentleness and low swarming tendency
- Flexibility: you have replacement ready when unexpected queen loss occurs
Selecting Breeding Stock
The quality of your breeding queens stands or falls with the selection of breeding material. Stock should come from your best colony -- evaluated over at least 2 years.
Selection without documentation is chance. Only those who systematically evaluate over multiple generations can truly improve the genetics of their colonies.
Preparing Breeding Stock
To guarantee having the youngest larvae, confine the breeder queen 3-4 days before the grafting date onto an empty, drawn comb (queen excluder or isolation box). This way you know exactly how old the larvae are.
- Place breeder queen on empty, light-coloured comb
- Confine with queen excluder frame
- Note the date (Day 0)
- After 4 days: larvae freshly hatched -- ideal for grafting
- Release the queen
Grafting: Three Systems Compared
System 1: Chinese Grafting Tool
The classic, most affordable method -- requires skill and practice.

Prepare queen cups
10-20 cups on a cell bar. Place a drop of diluted royal jelly in each as a bed for the larva.
Graft in good light
Slide the grafting tool under the larva (not into it!) and lift with the food jelly. The larva must never be touched directly.
Place into queen cup
Wipe off at the edge of the cup so the larva slides into the royal jelly drop. Place the cell frame into the cell builder immediately (max. 15-20 min).
Thin metal probe with flexible tongue. Models with a sprung tongue make releasing easier. For beginners: variants with illuminated magnifier. Practising on mustard seeds helps.
System 2: Nicot System
A plastic cassette is inserted into the comb. The queen lays eggs in the cells; after larval hatching, the removable cell bases are plugged into queen cups -- contact-free.
System 3: Jenter System
Similar to Nicot, but with a more natural cell shape, which often improves acceptance by the queen.
Cell Builder Colonies: Starter and Finisher
The Starter-Finisher Method
Prepare starter (queenless)
Remove the queen from a strong colony, wait 2-4 hours. At least 2-3 kg of bees, plenty of open brood (= active royal jelly glands), ample pollen and food.
Insert the cell frame
Hang grafted queen cups centrally between open brood. Nurse bees begin intensive feeding immediately.
Transfer to finisher after 24-48 hours
Move accepted cells (elongated, filled with royal jelly) into a queen-right finisher colony. Place the cell frame above a queen excluder in the honey super.
Check capping (approx. Day 5 after grafting)
Remove capped cells and distribute into mating nucs. No later than 2 days before expected emergence (Day 10). Temperature during transport: 34-35 °C, insulated container.
Chilling below 32 °C during the pupal stage causes developmental damage and reduced spermatheca. Always transport in an insulated, pre-warmed container. Also avoid overheating above 37 °C.
Mating Nucs
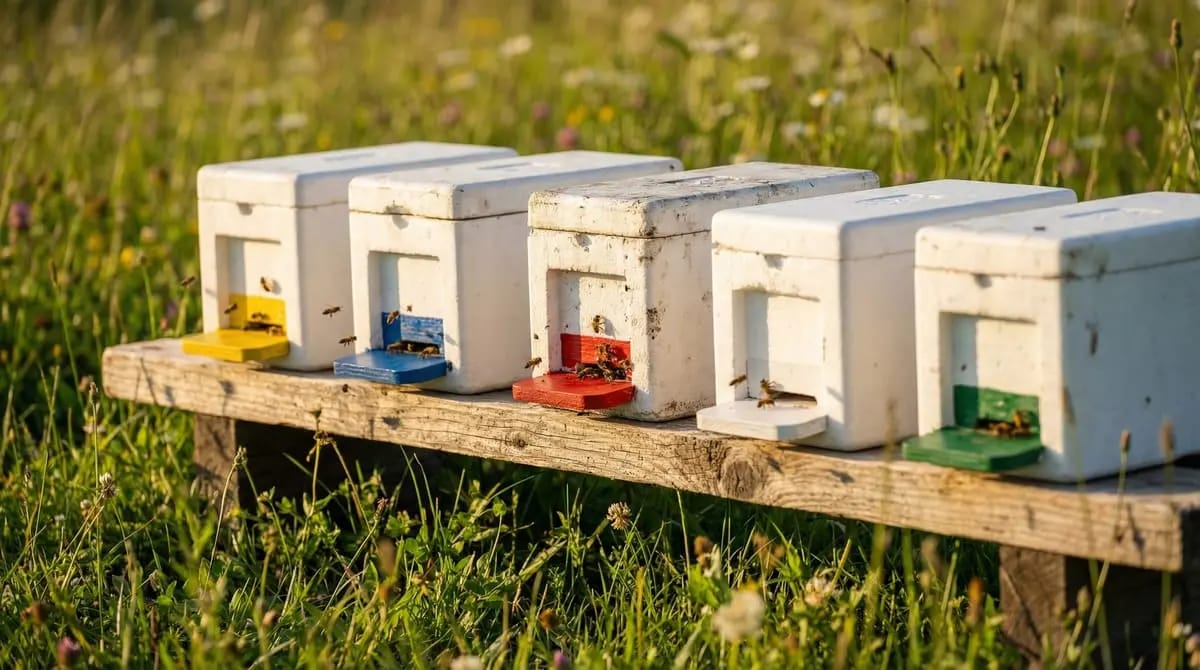

The best compromise for regular breeding (10-30 queens/season). The queen can remain in the Mini-Plus after mating and even overwinter.
Mating Station vs. Open Mating
With open mating the queen mates with uncontrolled drones from the surrounding area (7 km radius). Simple, but no genetic control.
At a mating station (isolated location: islands, mountain valleys) only drones from a defined breeding line are present. In Germany there are approximately 100 recognised mating stations (Carnica, Buckfast, Dark Bee). Registration through breeding associations; mating nucs are placed for 2-3 weeks. Cost: 10-25 EUR per queen.
Mating stations (Belegstellen) are a well-established institution in German-speaking countries. In other regions, similar concepts exist but may differ in organisation. Check with your local breeding association for options in your area.
For absolute control, instrumental insemination (II) under a microscope is available -- reserved for foundation breeding and performance testing (equipment: 3,000-5,000 EUR).
Breeding Calendar
Day -4: Confine queen on empty comb Day 0: Graft, cell frame into starter Day 1: Acceptance check (24 h) Day 2: Transfer to finisher Day 5: Distribute capped cells into mating nucs Day 12: Emergence (Day 16 from egg-laying) Day 16-20: Mating flights (weather-dependent) Day 22-26: Check egg-laying Day 26-30: Mark queen, put into service
Common Mistakes in Queen Rearing
Keeping a Breeding Record
Breeding Record Documentation

Knowledge Check
In the next lesson: Professional Swarm Management -- recognising, preventing or strategically using swarming behaviour.