From Hive to Jar: The Perfect Harvest Workflow
The complete harvest workflow from ripeness testing to the finished jar. With step-by-step instructions, equipment comparison and professional tips for flawless honey harvesting.
From Hive to Jar: The Perfect Harvest Workflow

The honey harvest is the highlight of the beekeeping year. Between the ripe comb and the finished jar lie numerous work steps, each of which influences quality. In this lesson we accompany the honey on its entire journey: from ripeness testing through uncapping, extracting, straining and skimming to bottling.
Phase 1: Recognising Harvest Readiness
The first decision: When is the honey ripe? Bees cap honey cells once the moisture content has fallen below 18-20 %.
The two-thirds capping rule is a guideline, not a guarantee. In wet years, even capped cells can have elevated moisture content. Always use a refractometer! (see Lesson 1)
Harvest Timing by Forage Source
Phase 2: Removing the Bees
Bee Escape (recommended)
The bee escape is a one-way valve between the brood box and the honey super:
Insert bee escape (the evening before)
The evening before harvest, place the bee escape between the brood box and the honey super. Ensure there is no open brood in the honey super.
Check after 24 hours
The honey super should be nearly bee-free. In cool weather, wait 48 hours if necessary.
Remove the honey super
Remove the bee-free honey super as a whole unit, cover it and transport it to the extraction room.
The bee escape is the gentlest method: no stressed bees, no smoke, clean combs. Only drawback: one day of lead time needed.
Phase 3: Uncapping
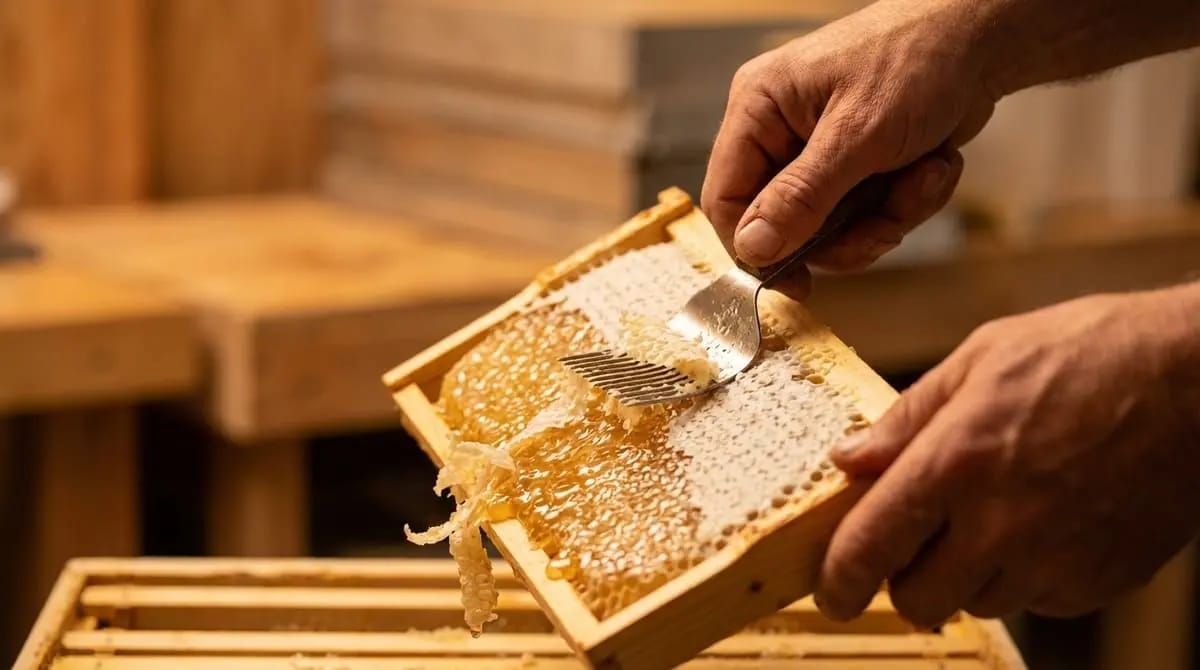
Tool Comparison
- Stand the frame vertically on the uncapping tray
- Guide the knife from bottom to top in a sawing motion
- Use the frame as a guide rail
- Work over depressions with the uncapping fork
- Uncap the second side in the same way
- Place immediately into the extractor
Cappings wax is the purest beeswax of all -- ideal for candles, cosmetics or foundation sheets. Let the attached honey drip off and enjoy it as "drip honey."
Phase 4: Extracting
Extractor Types
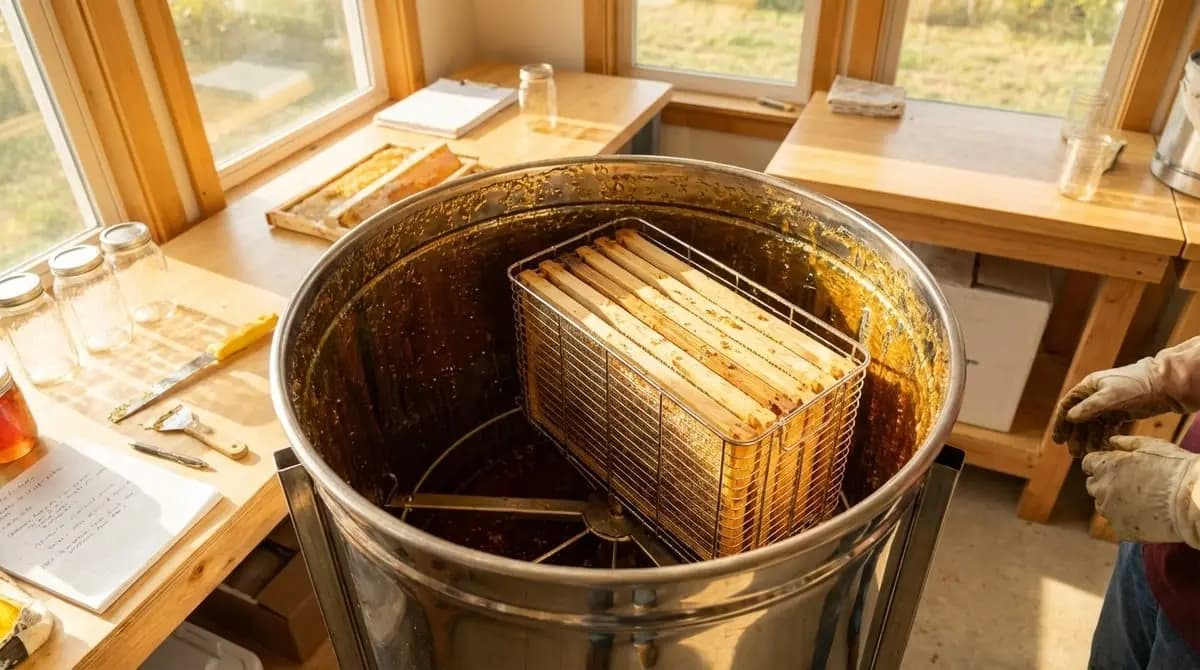
For 2-10 colonies, we recommend a self-turning extractor or small radial extractor (6 frames). Stainless steel is mandatory. Tip: many associations lend extractors -- try before you invest!
Extraction Process
Prepare the extractor
Fix on a level floor. Close the drain valve. Prepare the sieve. Everything must be scrupulously clean.
Load symmetrically
Always load opposing positions with equal weight. Imbalance = danger!
Start slowly
Begin at low speed and increase gradually. For tangential extractors: extract the first side only 2/3, flip, extract the second side completely, then finish the first side.
Full speed
Run at full speed for 2-3 minutes (radial extractor: 5-8 minutes).
Drain honey
Open the drain valve regularly before the honey pool reaches the lower frames.
An unbalanced extractor can tip over! Always load symmetrically, start slowly, stop immediately if vibrations occur.
Phase 5: Straining
- Place the coarse sieve on the collection vessel, then the fine sieve on top
- Let the honey run through both sieves
- If clogged: gently push the wax-honey mass aside, do NOT press
- Replace clogged sieves
Sieves below 0.2 mm can remove pollen. Ultrafiltration is prohibited under the Honey Ordinance -- a standard double sieve is the right compromise.
Phase 6: Skimming and Settling
Let rest for 48-72 hours
Leave the settling tank at room temperature, covered but not airtight.
Skim the foam
Carefully skim the foam layer that has risen to the top (air bubbles + wax particles) with a flat spoon. The foam makes a delicious spread!
Stirring for Creamed Honey
Immediately after skimming -- for fast-crystallising varieties -- stirring begins. Creamed honey is by far the most popular with consumers in many countries. The right timing:
- Rapeseed honey: Start immediately, no later than day 2-3 after extracting
- Summer blossom: Day 3-5 after extracting
- Linden honey: Day 5-7, when first cloudiness becomes visible
- Acacia / forest honey: Not stirred, stays liquid
The Dyce method (seed crystals + controlled stirring at 14-18 degrees) produces the fine-creamy consistency that customers love. Full details in Lesson 4.
Phase 7: Bottling
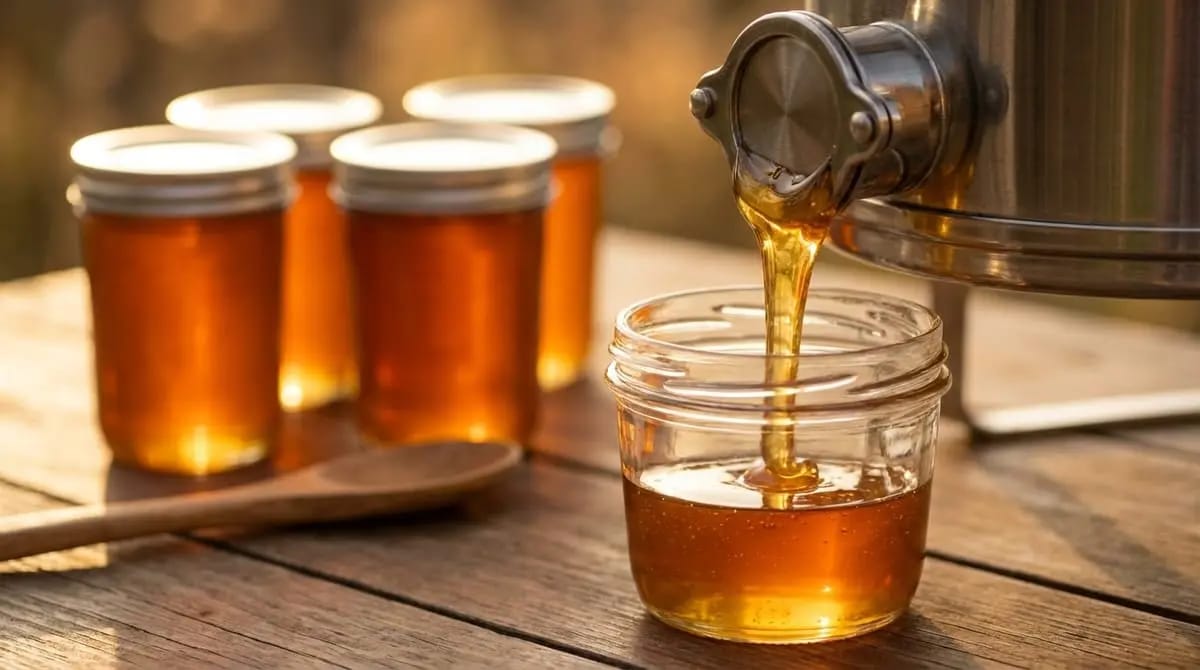
Prepare jars
Use clean, completely dry jars. Residual moisture can trigger localised fermentation!
Fill using a honey gate
Use the drain valve on the settling tank, do not pour (this introduces air). Wipe any honey from the jar rim immediately.
Check fill quantity
Use a calibrated scale. Observe pre-packaging regulations: for 500g, max. -15g tolerance.
Seal and label
Screw on the lid firmly. Note the batch number. Apply the label (details in Lesson 5).
Temperature Management
Extraction Room: Basic Requirements
Your processing room must meet basic standards:
Extraction Room Minimum Requirements
Many beekeeping associations operate professionally equipped shared extraction rooms. Especially ideal for beginners: you save the investment and learn from experienced members. Ask your local association!
Common Mistakes and How to Avoid Them
Equipment Checklist
What You Need for the Honey Harvest
The honey harvest is the moment when the beekeeper becomes a food producer. Everyone should take this responsibility seriously -- from the first comb to the last jar.
Knowledge Check
In the next lesson we discover honey varieties: from mild rapeseed honey to robust forest honey -- each variety has its own character.