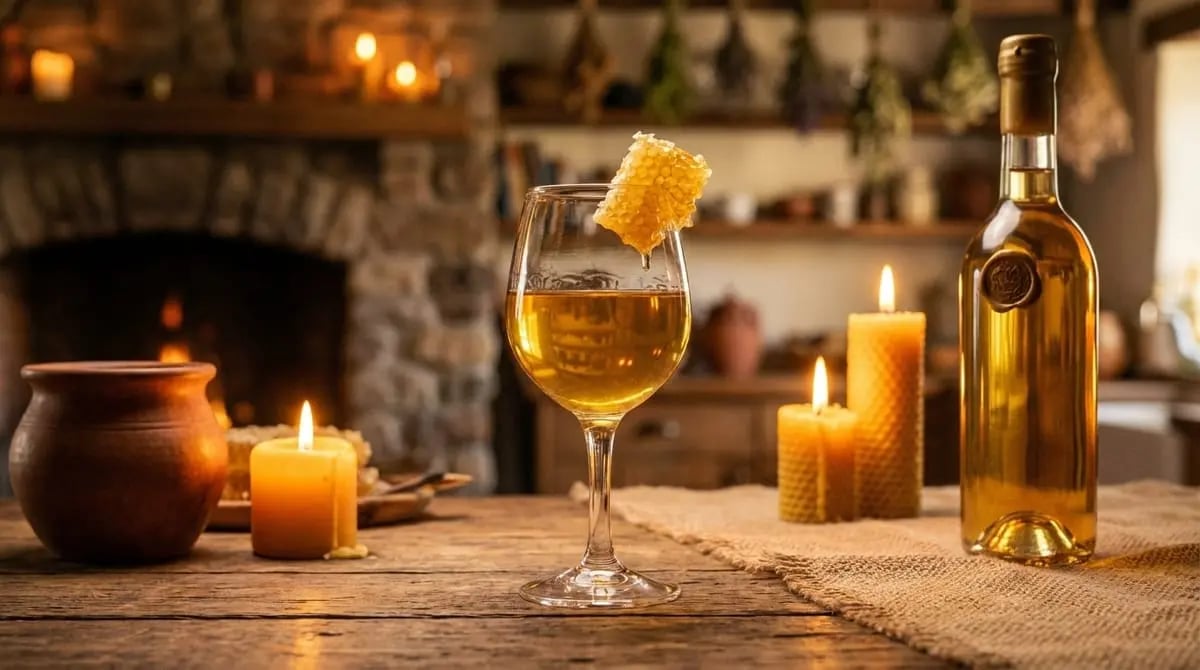
Brewing Mead: Making Honey Wine Step by Step
Make mead yourself: complete guide to brewing honey wine with recipe, ingredient list, and tips for beginners. Easier than you think!
Mead -- the oldest alcoholic beverage known to humanity -- is experiencing a renaissance. What was once drunk by Vikings and Germanic tribes is now a popular hobby: brewing honey wine yourself. The great thing about it: you don't need expensive equipment, no prior knowledge, and no special skills. With patience and some honey, you can make your own mead. In this guide, we'll walk you through the entire process step by step -- from initial setup to bottling.
What Is Mead Exactly?
Mead (also known as honey wine) is fundamentally simple: honey is mixed with water, yeast converts the sugar in the honey to alcohol. The result is a beverage with typically 10 to 16 percent alcohol that can range from dry to very sweet.
Mead comes in many variants:
| Variant | Description |
|---|---|
| Dry Mead | Little residual sweetness, wine-like |
| Sweet Mead | Noticeable honey sweetness, dessert wine-like |
| Melomel | Mead with fruit additions (berries, apples) |
| Metheglin | Mead with spices or herbs |
| Cyser | Mead with apple juice |
| Pyment | Mead with grape juice |
Ingredients and Equipment
The quality of your mead stands and falls with the quality of the honey. Use raw honey from a beekeeper -- not industrially processed supermarket honey. Blossom honey works best for beginners, forest honey produces a bolder mead.
Ingredients for 5 Liters of Mead (Basic Recipe)
- 1.5 kg raw blossom honey
- 4 liters water (preferably low in lime)
- 5 g wine yeast (pure culture yeast, e.g., Lalvin 71B or EC-1118)
- Yeast nutrient according to package instructions
- Optional: juice of one lemon (acid regulator)
The ratio of honey to water determines the alcohol content and residual sweetness:
- 1.5 kg honey to 4 L water = medium mead (~12-13%)
- 2 kg honey to 4 L water = heavy, sweet mead (~14-16%)
Note: For personal consumption, you are free in the dosage. If you intend to sell mead, check your local regulations regarding production standards and labeling requirements.
Equipment
You don't need a professional brewery -- everything is affordable and readily available:
| Equipment | Purpose | Approx. Cost |
|---|---|---|
| Fermentation vessel (5-10 liters, glass) | Fermentation container | 10-25 EUR |
| Airlock (fermentation lock) | Lets CO2 out, keeps oxygen and germs out | 2-5 EUR |
| Drilled rubber stopper | Holds the airlock on the vessel | 1-2 EUR |
| Siphon tubing | For racking off the yeast sediment | 3-5 EUR |
| Thermometer | Temperature control | 5-10 EUR |
| Sanitizer | Clean work is essential | 5-8 EUR |
| Bottles with corks or swing tops | Bottling | 10-15 EUR |
Step-by-Step Instructions
- 1
Sanitize Everything
Cleanliness is paramount in mead brewing. Rinse the fermentation vessel, airlock, tubing, and all utensils thoroughly with a sanitizing solution (e.g., Chemipro OXI or Star San). Your hands should be clean too. Contamination with wild yeast or bacteria can ruin the entire batch.
- 2
Prepare the Must (Honey Water)
Heat about 1 liter of water to approximately 35-40°C (don't boil!). Dissolve the honey completely in it -- stir patiently until no streaks are visible. Then add the remaining cold water. The total temperature should drop to 20-25°C. Pour the must into the sanitized fermentation vessel.
- 3
Prepare the Yeast (Rehydrate)
Dissolve the wine yeast in a clean glass with 100 ml lukewarm water (30-35°C). Let the yeast sit for 15-20 minutes until it swells and slightly foams. Stir in the yeast nutrient -- it provides the yeast with essential nitrogen and mineral sources that are lacking in honey.
- 4
Add Yeast and Start Fermentation
Add the rehydrated yeast to the fermentation vessel with the honey water. Gently swirl to introduce oxygen (only now, not later!). Place the drilled rubber stopper with the airlock on the fermentation vessel. Fill some water (or sanitizing solution) into the airlock.
- 5
Wait for Primary Fermentation (2-4 Weeks)
Place the fermentation vessel in a dark location with a constant temperature between 18 and 22°C. After 12-24 hours, you should see the first bubbles in the airlock -- the yeast is working! In the first days, it bubbles vigorously, then activity decreases. Primary fermentation takes 2 to 4 weeks depending on the recipe.
- 6
Rack Off the Sediment
When fermentation noticeably slows (fewer than 1 bubble per minute), it's time to rack the mead off the yeast sediment. Place the fermentation vessel elevated and attach the tubing -- carefully siphon and let the mead flow into a second, sanitized fermentation vessel. Don't carry over the cloudy sediment!
- 7
Secondary Fermentation and Clearing (4-8 Weeks)
Seal the second fermentation vessel again with an airlock. Now secondary fermentation begins: the remaining yeast works slowly and the mead clears. The longer you wait, the clearer it becomes. Repeat racking after 4 weeks if sediment forms again.
- 8
Bottle and Store
When the mead is clear and no more bubbles rise, it can be bottled. Fill it via the tubing into clean bottles and seal with corks or swing tops. Mead improves with aging -- after 3 to 6 months it tastes significantly smoother than freshly bottled.
Common Mistakes in Mead Brewing
- Too little yeast nutrient: Honey contains hardly any nutrients for yeast. Without nutrient, fermentation can stall or develop off-flavors.
- Fermentation too warm: Above 25°C, yeast produces unpleasant fusel oils. Better to ferment at 18-20°C.
- Not sanitized: A single contaminated bottle can spoil the entire batch.
- Bottled too early: If residual sugar is still fermenting, pressure builds in the bottle -- explosion risk!
- Boiled the honey: Boiling water destroys aromas and enzymes. Use maximum 40°C.
How Do I Know When Fermentation Is Complete?
Three signs that your mead has finished fermenting:
- No more bubbles in the airlock (for at least 24 hours)
- The mead is clear -- yeast particles have settled to the bottom
- Taste test: No perceptible sweetness anymore (for dry mead) or a stable residual sweetness that no longer changes
For absolute certainty, you can use a hydrometer: if the reading doesn't change over several days, fermentation is complete.
Variants: Flavored Mead
Once you've mastered the basic recipe, you can experiment:
Fruit Mead (Melomel)
Add 200-500 g of fruit per liter of mead after primary fermentation:
- Cherry Mead: Sour cherries, intense and ruby-red
- Berry Mead: Raspberries or blackberries, fruity and aromatic
- Apple Mead (Cyser): Replace half the water with unfiltered apple juice
Spiced Mead (Metheglin)
Add spices -- but carefully, the aromas intensify through fermentation:
- Cinnamon and Vanilla: Classic holiday flavors
- Ginger: Fresh and invigorating
- Lavender: Floral and unusual
- Chili: For mead with a kick
Start with small amounts and taste regularly. Spices can always be added but never removed. As a rule of thumb: per 5 liters of mead, maximum 1-2 cinnamon sticks, 1 vanilla pod, or 20 g fresh ginger.
Legal Notes
The legal regulations described here are based on German law. If you are outside Germany, please check your local regulations regarding home brewing and selling of fermented beverages. In many countries, producing mead for personal consumption is legal without a license, but commercial sale typically requires permits.
In Germany, you may brew mead for personal consumption without a permit -- mead is produced through fermentation (not distillation) and therefore does not fall under the Alcohol Tax Act. For commercial sale, however, strict rules apply:
- Mead is classified as a wine-like beverage and is subject to specific German regulations
- The mixing ratio must be observed: maximum 2 parts water to 1 part honey by weight, minimum 5.5% vol. alcohol, no added sugar permitted
- For commercial sale, a business registration is required; the responsible food safety authority must be informed
- The alcohol content must be correctly stated on the label
- General food hygiene regulations (EU Regulation 852/2004) apply
For personal enjoyment and as gifts for friends, none of this is an issue.
Troubleshooting: When Something Goes Wrong
| Problem | Possible Cause | Solution |
|---|---|---|
| Fermentation doesn't start | Yeast too old, water too hot, no nutrient | Prepare new yeast, add nutrient |
| Fermentation stops too early | Too cold, nutrient deficiency, alcohol tolerance reached | Move to warmer spot, add nutrient, use stronger yeast |
| Mead tastes like vinegar | Bacterial contamination (acetic acid bacteria) | Unfortunately can't be saved -- better sanitizing next time |
| Mead smells like rotten eggs | Hydrogen sulfide from stressed yeast | Swirl vigorously (degases H2S), add nutrient |
| Mead stays cloudy | Yeast particles in suspension, pectins | Patience (clears on its own), use fining agent (bentonite) |
| Mead is too sweet | Fermentation stopped prematurely | Add new yeast, move to warmer spot |
| Mead is too sour | Too much lemon or faulty fermentation | Use less acid next time, possibly back-sweeten with honey |
Conclusion: Brewing Mead Is Worth It
Making your own mead is one of the most satisfying DIY projects for beekeepers and honey fans. The effort is manageable, the costs are low, and the results can be truly impressive -- especially after a few months of aging. And there's hardly a more personal gift than a bottle of home-brewed honey wine from your own honey.
Start with the basic recipe, wait patiently, and let yourself be surprised. Cheers!
Cooking with Honey: 10 Simple Recipes for Every Day Honey Varieties in Germany: Discovering Diversity Checking Honey Quality: HMF, Water Content, and Lab Analysis- Honey Business -- Lesson 8: Marketing By-Products
- Honey Business -- Lesson 1: Understanding Honey Quality
Less paperwork. More time with your bees.
Hivekraft is free for up to 10 hives. Register in 30 seconds.