Beeswax Candle Making: DIY Guide for Beginners
Make beeswax candles yourself: Step-by-step guide with material list, techniques, and tips for perfect candles.
Beeswax candles are something special: They spread a gentle honey fragrance, burn longer than paraffin candles, hardly drip, and even clean the air (they produce negative ions when burning that bind dust particles). Whether as a gift, for personal use, or as a small side income -- making beeswax candles yourself is easier than you think. In this guide, we show you everything you need: from material selection through technique to troubleshooting.
Why Beeswax?
Before we get started, a quick comparison of the most common candle waxes:
Materials and Tools
To get started, you don't need much -- the basic equipment is affordable and largely reusable.
Material List for Beeswax Candles
The Right Wick Thickness
Wick thickness is crucial for a cleanly burning candle. Too thin = candle tunnels (burns inward instead of evenly). Too thick = flame too large, soot production.
| Candle Diameter | Recommended Wick Thickness |
|---|---|
| Up to 3 cm (tea lights) | Round wick 2-3 |
| 3-5 cm (thin pillars) | Flat wick 3x9 or 3x12 |
| 5-7 cm (medium pillars) | Flat wick 3x15 or 3x18 |
| 7-10 cm (thick pillars) | Flat wick 3x21 or thicker |
Every batch of wax is slightly different. Pour a test candle first and observe the burn behavior: The flame should burn steadily, not flicker, not produce soot, and the wax pool (the liquid wax puddle) should nearly reach the edge after 2--3 hours.
Basic Technique: Pouring Beeswax Candles
Melt the Wax
Place the beeswax in a heat-resistant vessel (e.g., an old tin can or stainless steel melting pot) and set it in a pot of water (water bath). Heat slowly to 62--65 degrees Celsius -- this is the melting temperature of beeswax. Never heat above 85 degrees Celsius and never directly over a flame -- beeswax is flammable! When the wax is completely liquid and clear, it is ready.
Prepare the Wick
Cut the wick to the length of the mold plus 3--4 cm extra. Briefly dip the wick into the liquid wax and pull it straight -- this stiffens it and makes it easier to position. Attach the upper end to a wick holder, toothpick, or pencil laid across the mold opening. The wick must be centered and straight.
Prepare the Mold
Silicone molds need no release agent. Lightly spray metal molds with silicone spray or cooking oil. Glass vessels (hurricane lamps) can be used directly -- here the wick is fixed at the bottom with a wick sticker.
Pour the Wax
Pour the liquid wax slowly and evenly into the mold. Avoid air bubbles -- pour in a thin, steady stream. Don't fill the mold completely to the rim; leave 1 cm free. Temperature when pouring: approx. 70 degrees Celsius -- slightly above the melting point so the wax doesn't solidify too quickly.
Let It Cool
Let the candle cool slowly at room temperature. Don't put it in the refrigerator -- rapid cooling causes cracks and an uneven surface. Beeswax contracts when solidifying, so a depression forms around the wick.
Top Up
Once the surface is solid (but still warm inside), poke 2--3 small holes around the wick with a toothpick. Reheat some wax to about 75 degrees Celsius and pour to fill the depression. Repeat this step if necessary until the surface is level.
Unmold and Trim the Wick
Wait at least 12 hours (better 24) before removing the candle from the mold. For silicone molds, simply peel the mold away; for metal molds, tap lightly on the work surface. Trim the wick to about 1 cm length -- a wick that is too long produces a flame that is too large.
Different Candle Shapes
Pillar Candles
The classics -- cylindrical or slightly tapered. Poured in metal or silicone molds. Best suited for beginners because the cylindrical shape is the most forgiving.
Tea Lights
Fill small aluminum cups (reusable!) or glass tea light holders. Use thin wicks and pour only about 1.5 cm high. Tip: Tea lights are perfect practice pieces -- inexpensive and quickly made.
Molded Figure Candles
Silicone molds come in countless motifs -- bees, beehives, flowers, Christmas trees. Important: The more detailed the mold, the hotter the wax should be when pouring (about 75--80 degrees Celsius) so it reaches every corner.
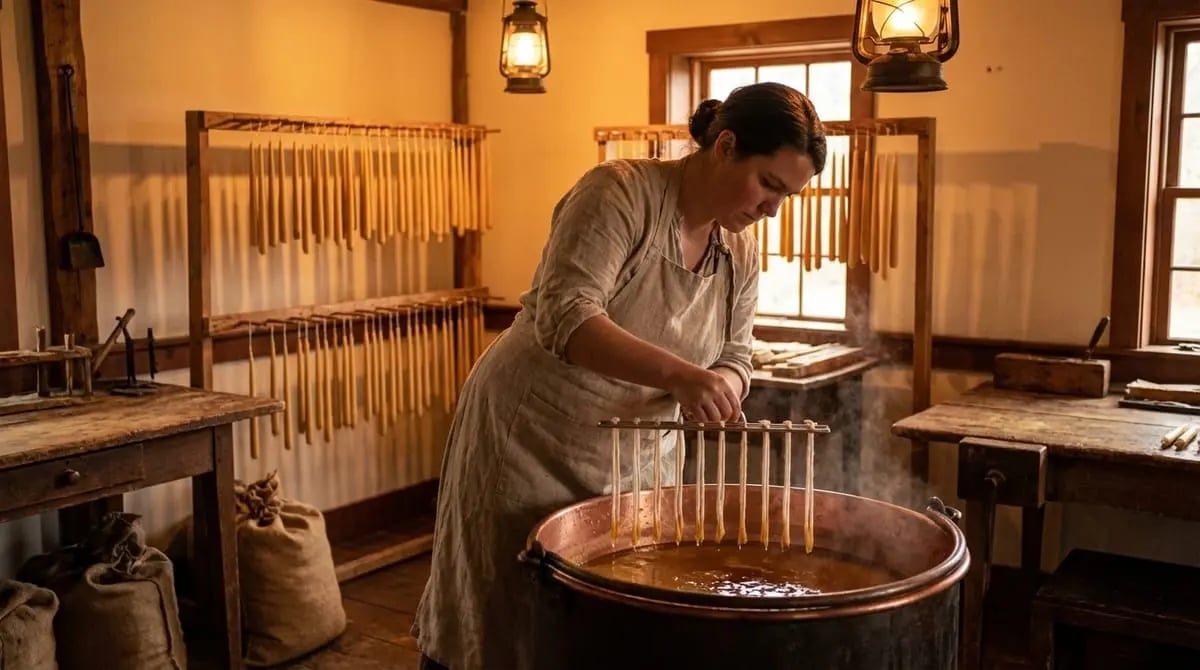
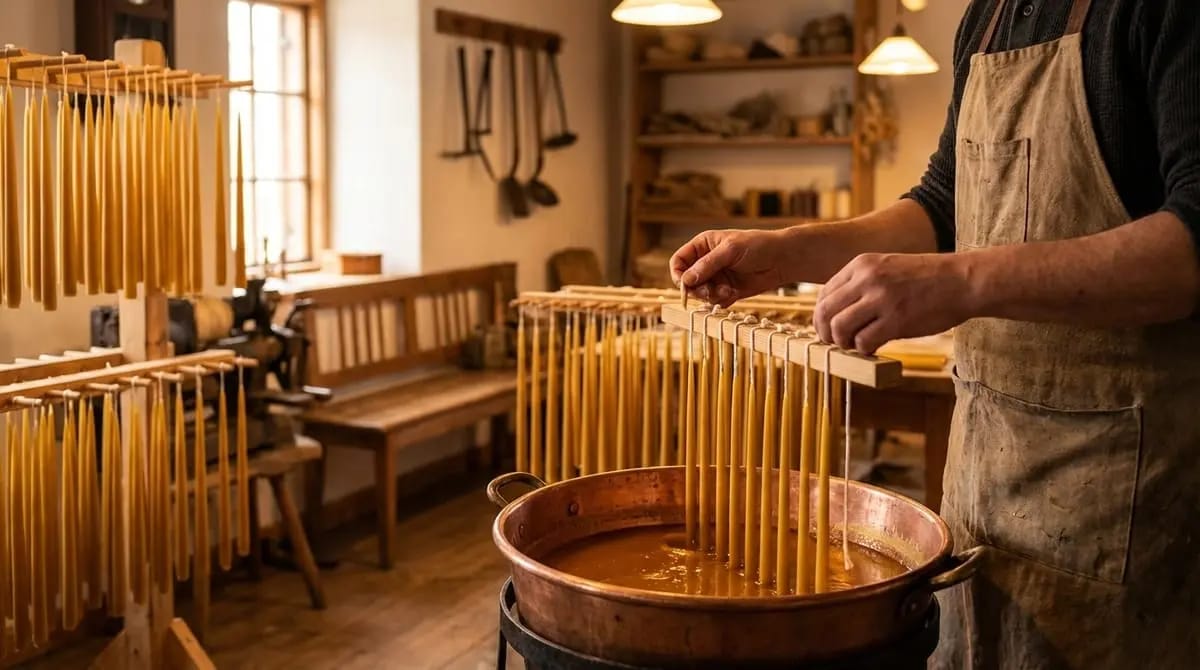
Dipped Candles (Taper Candles)
- Dip the wick into the liquid wax and pull it out evenly.
- Let it cool for 30 seconds until the wax layer is solid.
- Dip again -- each dip builds another layer.
- After about 20--30 dips, the candle has the desired thickness.
- Rotate slightly between dips for an even shape.
- For the final dip, use slightly hotter wax for a smooth surface.
Rolled Candles (from Foundation Sheets)
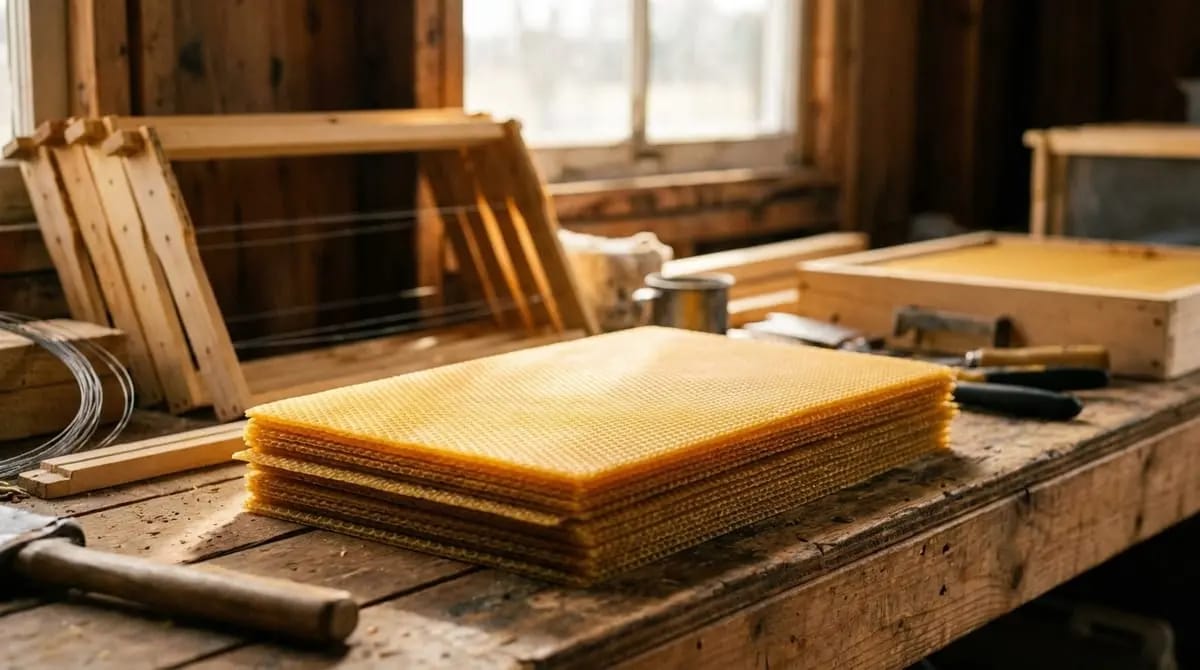
The simplest method of all -- perfect for children and beginners. Lay a foundation sheet (wax sheet with honeycomb pattern) flat, position the wick along one edge, and roll the sheet tightly. Done! These candles have the typical honeycomb pattern and burn beautifully.
Troubleshooting: Common Problems
The whitish layer that forms on beeswax candles is called bloom. It occurs when natural oils in the wax migrate to the surface. This is a sign of genuine, pure beeswax -- and can easily be removed with a hair dryer or a soft cloth.
Advanced Techniques
Multi-Colored Candles
Beeswax can be colored with special candle dyes (pigments or liquid color). For layered candles: Pour one layer, wait until it is solid, then pour the next layer in a different color.
Scented Candles with Essential Oils
Beeswax already has a pleasant natural scent. If you still want to add fragrances:
- Use only natural essential oils (no synthetic fragrance oils)
- Dosage: 5--10 ml per 500 g wax
- Add oil at 60 degrees Celsius (too hot = scent evaporates)
- Good combinations: Lavender, citrus, eucalyptus, cinnamon
Embedded Decoration
Dried flowers, herbs, or spices (cinnamon sticks, star anise) can be embedded as decoration in transparent candle vessels (hurricane lamps). Caution: Never place decorative material near the wick -- fire hazard!
Safety Notes
- Beeswax is flammable -- never heat over an open flame or in the microwave
- Always use a water bath, never directly in a pot
- Water and hot wax: Water droplets in hot wax can splatter -- burn risk!
- Cover the work surface with parchment paper or newspaper
- Only let children make candles under supervision
- Never leave burning candles unattended
Sourcing Beeswax
As a beekeeper, you have the raw material right at hand -- cappings wax is the highest quality material for candles. If you are not a beekeeper:
- Buy from a local beekeeper: Purified beeswax in blocks or pastilles
- Ask a beekeeping association: Many associations sell wax to non-beekeepers
- Order online: Pay attention to quality -- "100% pure beeswax" without additives
- Price: Approximately 25--40 euros per kilogram for purified wax
Packaging Candles as Gifts
Hand-poured beeswax candles make wonderful gifts. A few ideas for packaging:
- Wrap in tissue paper with a ribbon
- In a small wooden box or a jute bag
- Together with a jar of honey as a bee products set
- With a handwritten card about burn time and care
Conclusion: A Craft Worth Pursuing
Making beeswax candles is a wonderful hobby that combines creativity and craftsmanship. The natural honey fragrance, the warm light, and the knowledge of holding a pure natural product in your hands makes every candle something special. Start with a few tea lights or a simple pillar candle -- and let yourself be surprised by the results.
Brewing Mead: Making Honey Wine Step by Step Beekeeping for Beginners - Your Introduction to Keeping Bees Gifts for Beekeepers: The 25 Best Ideas for Every Occasion- Honey Business -- Lesson 8: Marketing Wax, Propolis, and Pollen
- Advanced Beekeeping Practice -- Lesson 5: Your Own Wax Cycle
Less paperwork. More time with your bees.
Hivekraft is free for up to 5 hives. Register in 30 seconds.